Everything you need to build. Fast.
All Resources
Explore our collection of resources. Search or filter by topic and content type—guides, reports, streamcasts, benchmarks, tech talks, and more—to quickly find what you need. View our blog, docs, or Developer page for more resources.


Data & AI Weekly
A weekly 30-minute live session where Redpanda's CTO and guests unpack real-world architectures, lessons, and tactical guidance for building production data and AI systems, including streaming, SQL, and agentic workloads, followed by live Q&A.


Redpanda CTO Tech Talk: From Factory to Fleet — Real-Time Data Streaming for Industrial IoT
Join Redpanda CTO Tyler Akidau for a deep dive into how real-time data streaming is transforming industrial IoT—from connected factories to autonomous fleets. Learn how industry leaders use Redpanda to simplify data pipelines, scale edge-to-cloud systems, and power predictive insights.
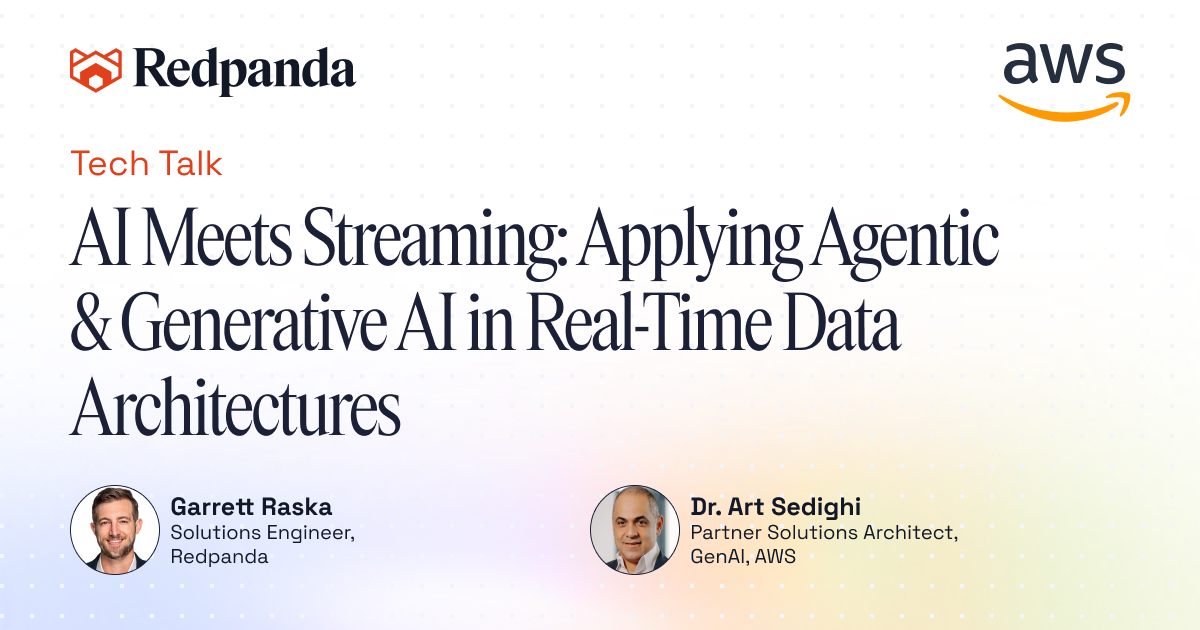
AI Meets Streaming: Applying Agentic & Generative AI in Real-Time Data Architectures
Discover how to integrate AI into real-time streaming architectures. Learn where to apply Agentic and Generative AI in your data pipelines, how to embed models into stream processing, and best practices for tackling challenges like latency, governance, and connectivity.
Customer-Exclusive: Redpanda Roadmap & Feature Highlights
Join Redpanda’s product and customer success leaders for an exclusive look at the latest platform updates and upcoming innovations. Learn what’s new, what’s next, and how these features help you get more from Redpanda.


Fireside Chat with Akamai & Redpanda
Learn how Akamai’s Cloud Security Intelligence team modernized its streaming infrastructure—cutting costs and boosting performance by moving off Confluent Cloud and onto a high-efficiency platform that powers real-time security at the edge.
Scaling IoT for Real-Time Insights: Redpanda, Iceberg, Prophet and AWS IoT in Action
Join Redpanda’s Tech Talk to learn how to build scalable IoT architectures with Redpanda, Iceberg, and Prophet. Stream, store, and forecast real-time sensor data efficiently and cost-effectively.


Introducing Redpanda Agents: How to Build Private Enterprise AI Agents at Scale
Watch Redpanda’s Launch Stream to discover how to build secure, scalable AI agents with the new Agentic Runtime Platform. See real-time demos, hear from AI leaders, and explore infrastructure built for the enterprise.


Streaming ETL
ETL presents a variety of challenges for data engineers, and adding real-time data into the mix only complicates the situation further. In this article, we will help you understand how streaming ETL works, when to use it, and how to get the most out of it.


Try Redpanda. We won’t bite.
You'll find it's easy to install and simple to get up and running with our lightening-fast streaming data platform.